
17 Easy Simple Christmas Nails You Can Do at Home
You don’t need a salon appointment or a drawer full of nail art tools to have festive nails this December. Most of the prettiest Christmas manicures start with a few basic supplies: a base coat, a top coat, two or three polish colors and maybe a toothpick or a dotting tool. The 17 ideas below are chosen because they’re quick, forgiving and realistic for a beginner working at the kitchen table. Some take only one color of polish, while others add a small detail like a dot, a stripe or a sparkle. Each look suits the season and goes with sweaters, dresses and everything in between. Put on a holiday playlist, set out your polish and pick the one that fits your mood.
Classic Solid Red Polish
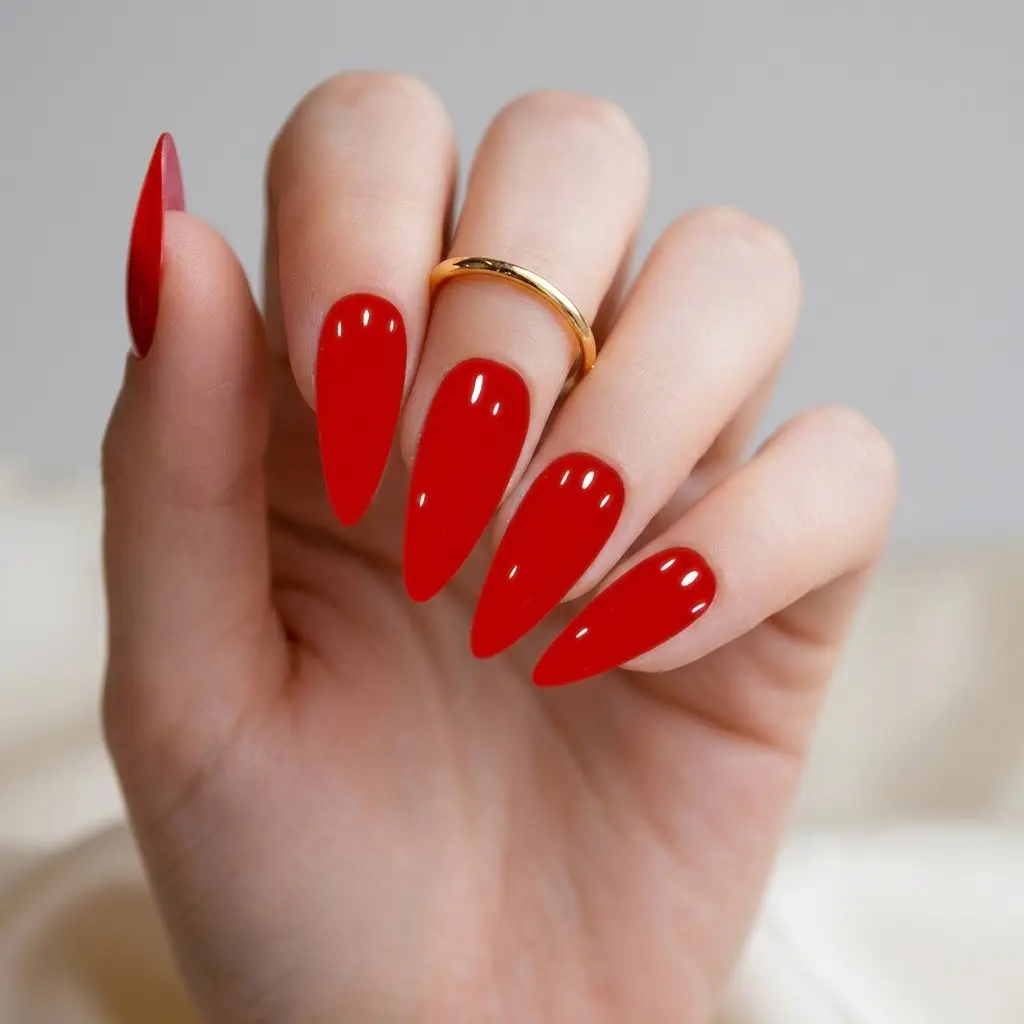
A single, well-applied coat of red is the simplest Christmas manicure there is, and it never goes out of style. Start with a clean, dry nail and a thin layer of base coat to protect the surface and help the color last. Apply the red in two thin coats rather than one thick one, which dries faster and looks smoother. Paint a stripe down the center of the nail, then one on each side, and cap the free edge to prevent chipping. Finish with a glossy top coat, and add another thin layer every couple of days for extra shine. This look works with black dresses, cream sweaters, denim and everything in between. It takes about thirty minutes, including drying time.
Deep Forest Green Nails
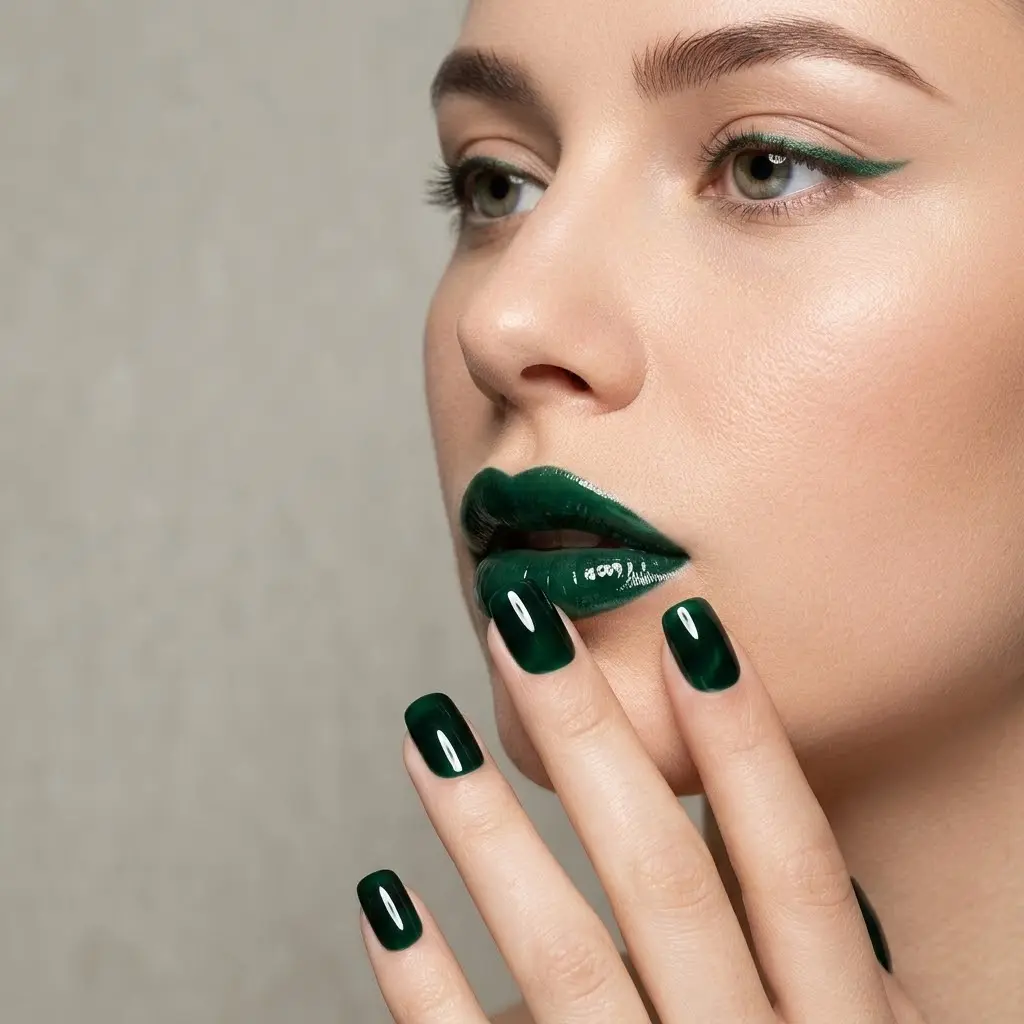
Forest green is just as festive as red, and it looks a bit more modern. The deep shade feels rich and cozy, and it flatters most skin tones. Apply a base coat, then two thin coats of green polish, letting each one dry for a minute or two. Dark colors show streaks easily, so keep your brush strokes light and even. A quick top coat gives the green a glossy, jewel-like finish. This color pairs well with black, cream, camel and gold accessories. It’s a smart pick for beginners, because a single color hides small mistakes better than detailed nail art.
Milky White with a Silver Glitter Accent Nail
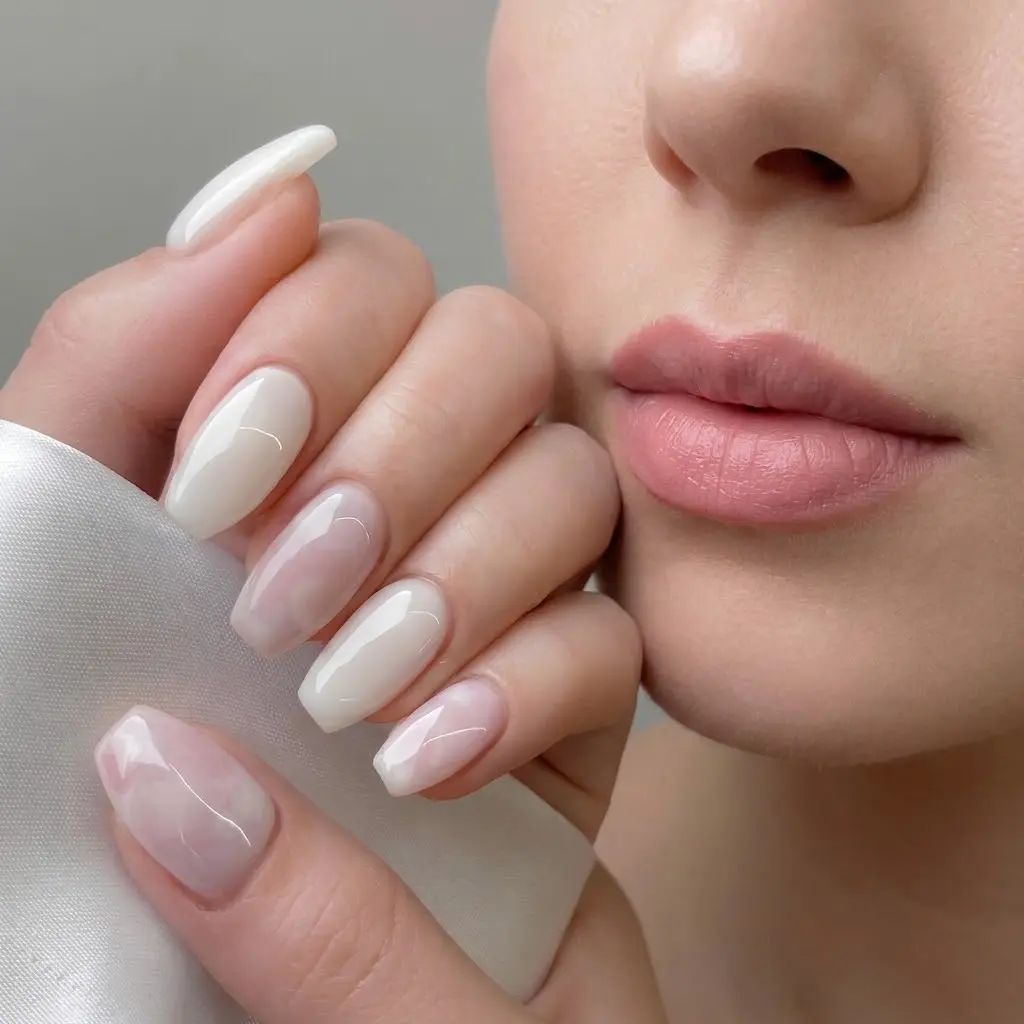
This look gives you a little sparkle without covering every nail in glitter. Paint all your nails with a sheer milky white polish, building two or three thin coats for an even finish. On the ring finger of each hand, apply a coat of silver glitter polish instead. Dab the glitter on with the brush tip rather than sweeping it, since this packs the sparkle more evenly. Add a thick top coat over the glitter nail to smooth the texture. The contrast looks polished and festive, and it matches nearly every outfit. It takes about forty minutes at home.
Red and Green Alternating Nails
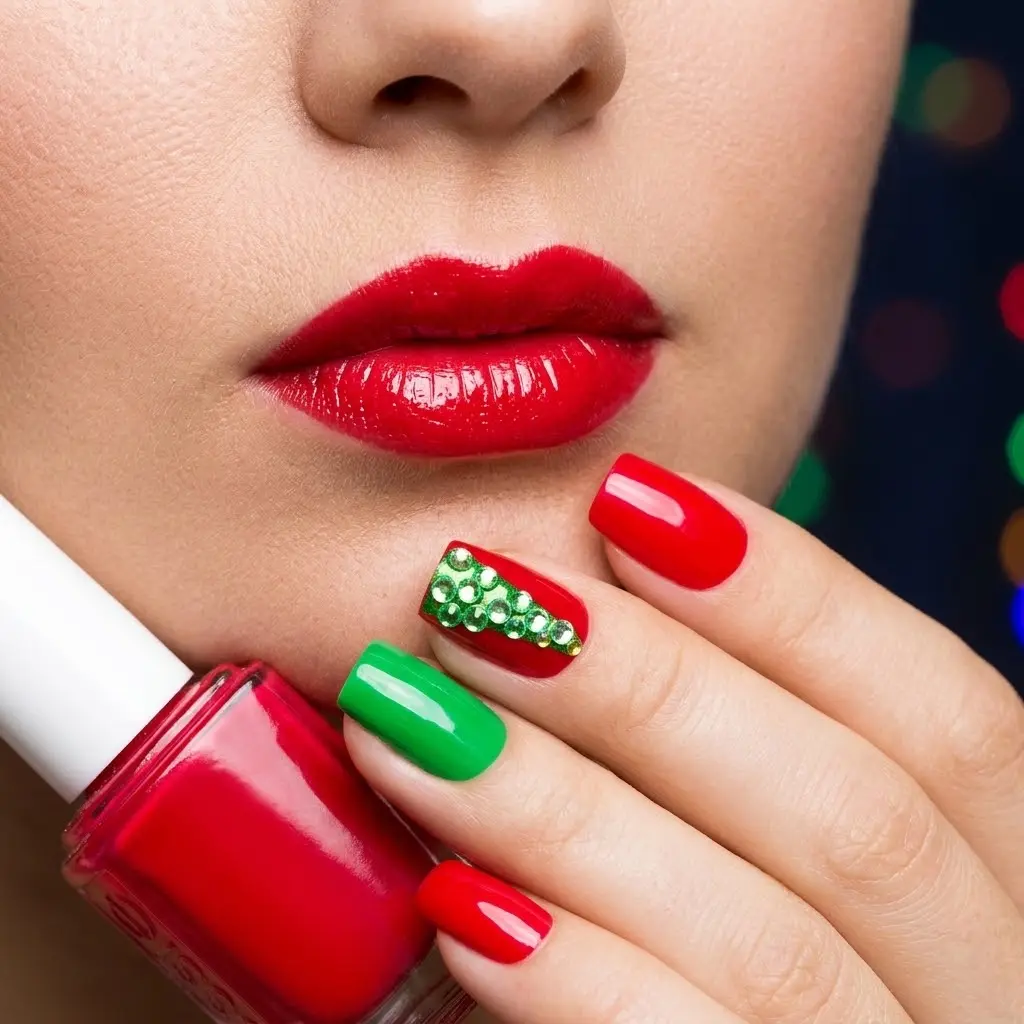
Alternating red and green nails is a playful, easy way to show your Christmas spirit. Paint your thumb, middle and pinky red, then paint the index and ring fingers green, or switch them around. Use a base coat first and two thin coats of each color. Because there’s no nail art involved, the look is quick and requires no special tools. Finish with a glossy top coat across all the nails so the colors match in shine. It’s a cheerful choice for sweaters, family photos and holiday parties. Keep your shapes short and neat for the best effect.
Gold Glitter Accent Nails
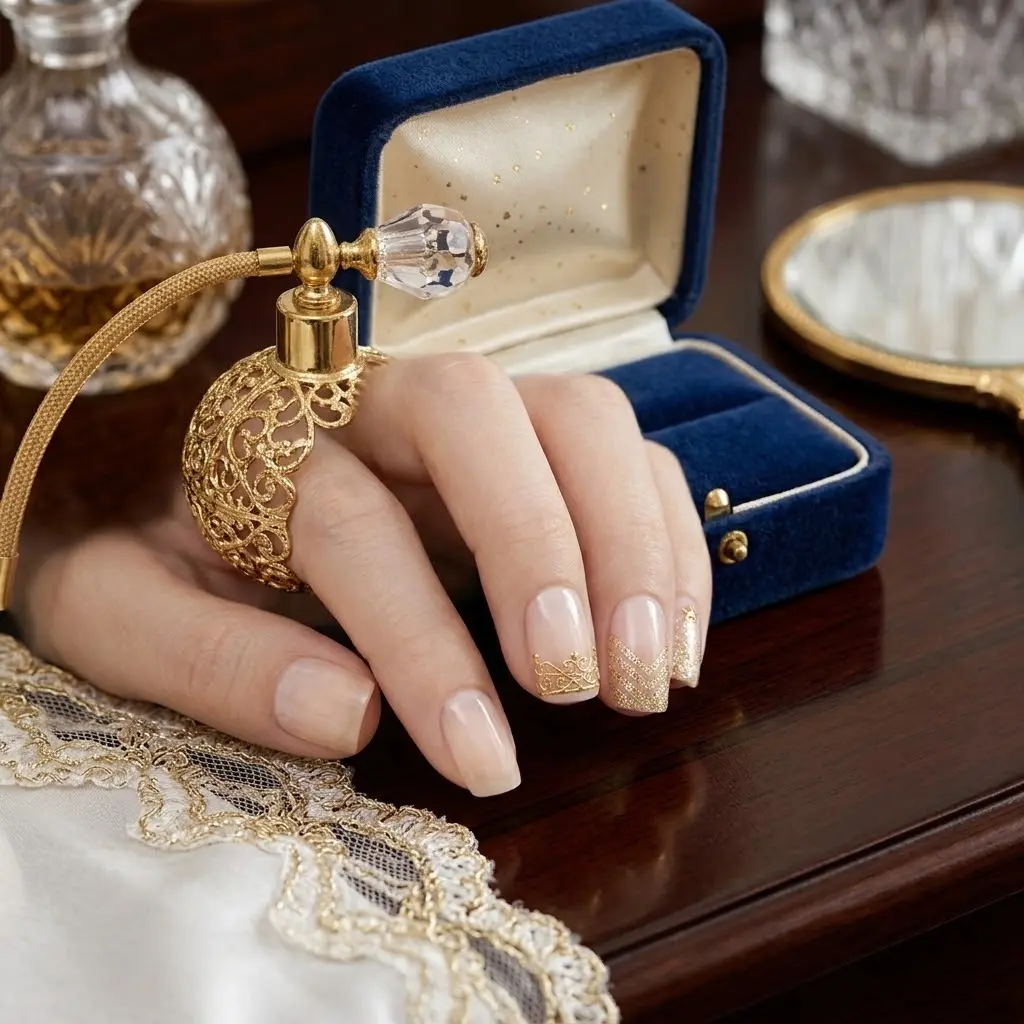
A gold glitter accent nail adds instant holiday glam to any base color. Choose red, green, black or nude for the main polish, then paint the ring finger with gold glitter polish. Apply thin layers of glitter, dabbing instead of brushing, to keep the sparkle even. A thick top coat smooths the surface so it feels comfortable. This style is easy to repeat for each hand, and it works with dressy and casual outfits alike. It’s also an easy way to elevate a plain manicure in a few extra minutes. Peel-off base coat can make removal simpler later.
Snow Dot Nails
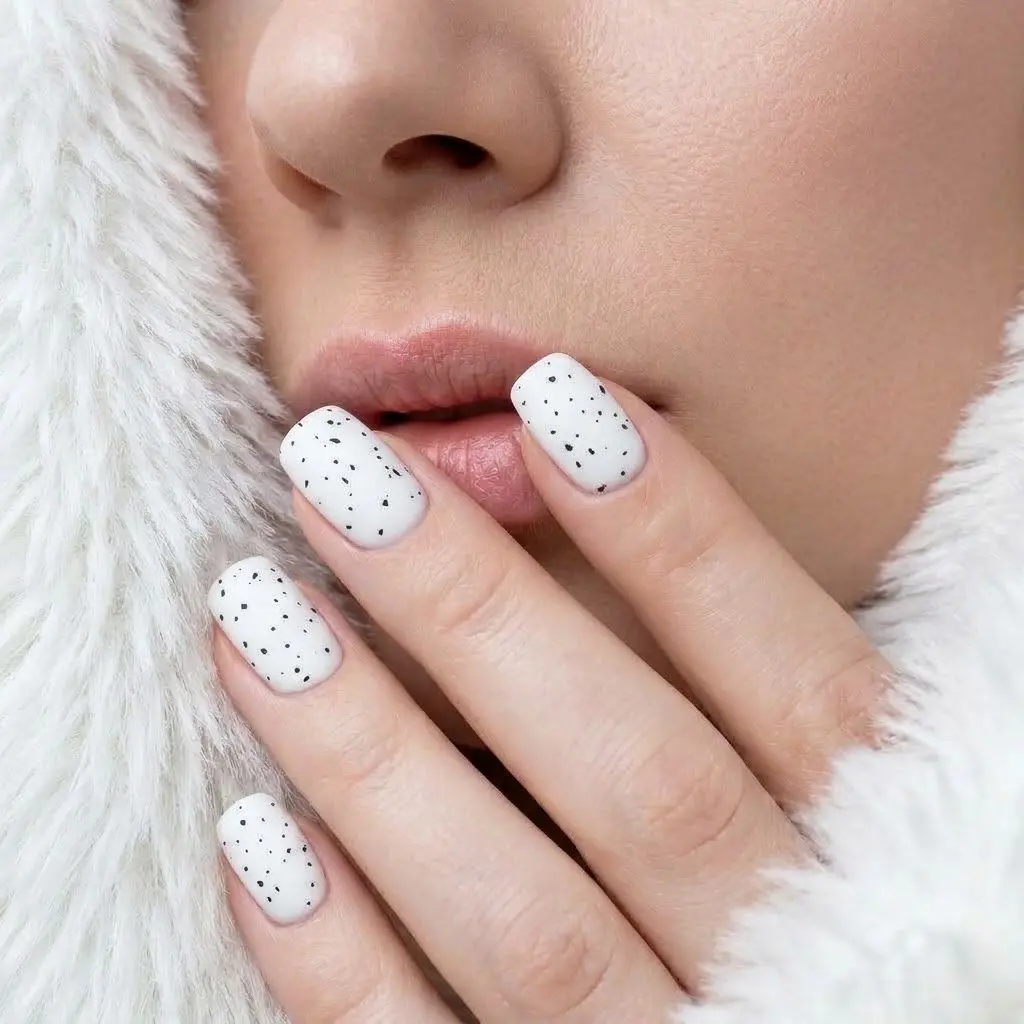
Snow dot nails use nothing more than a dotting tool or the tip of a toothpick. Paint your nails a deep color such as navy, burgundy or forest green. Once the base is dry, dip the tool in white polish and press small dots across the nail in a loose, scattered pattern. Vary the size of the dots slightly for a more natural snowfall effect. Seal everything with a clear top coat so the dots stay smooth. The design looks cute on short and long nails alike, and it works with sweaters, scarves and coats. It takes about forty-five minutes.
Candy Cane Stripe Nails
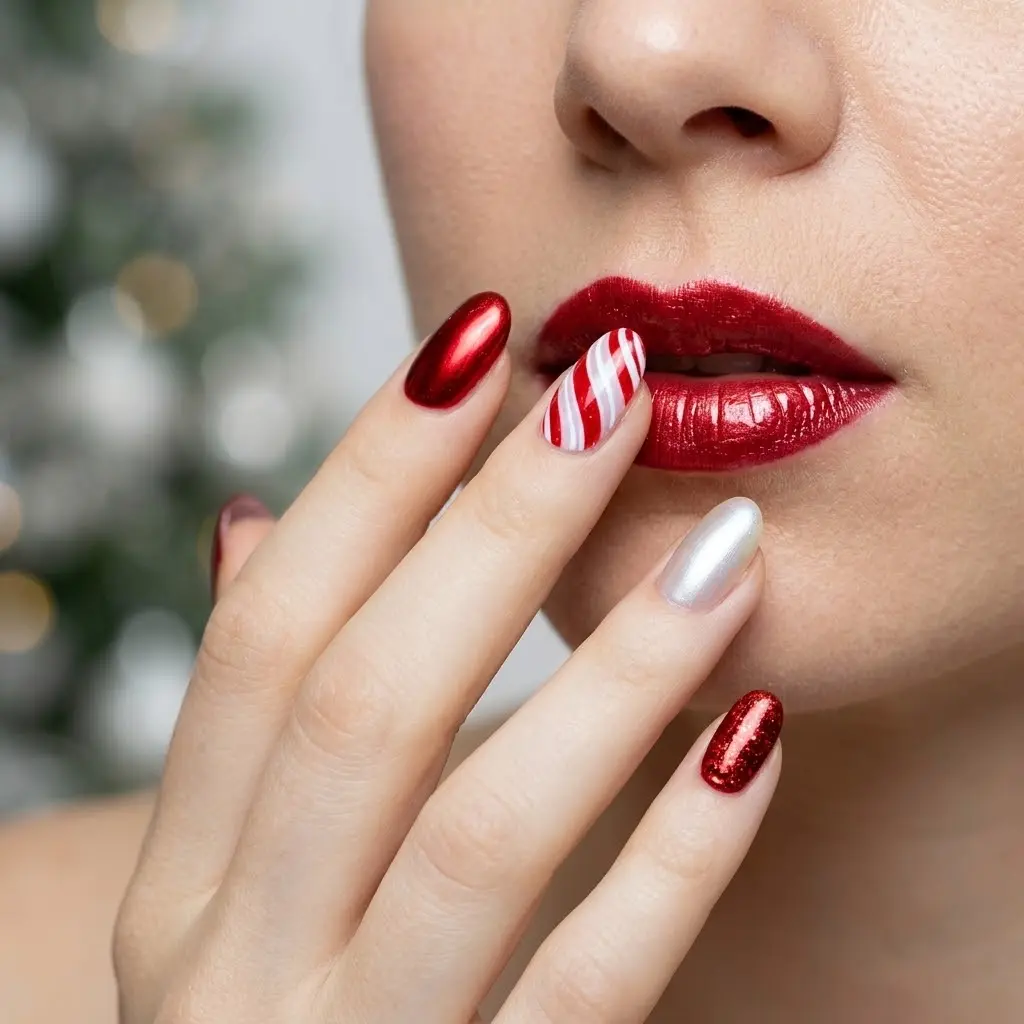
Candy cane stripes are easier than they look, especially with striping tape. Paint your nails white and let them dry fully, then place thin strips of tape diagonally across the nail. Paint over the exposed areas with red polish, then peel the tape away carefully while the polish is still slightly wet. The result is a clean, crisp stripe without needing a steady hand. Add a clear top coat to seal the design. Leave one or two nails plain for balance. It’s cheerful, festive and perfect for cookie baking day.
Simple Red French Tips
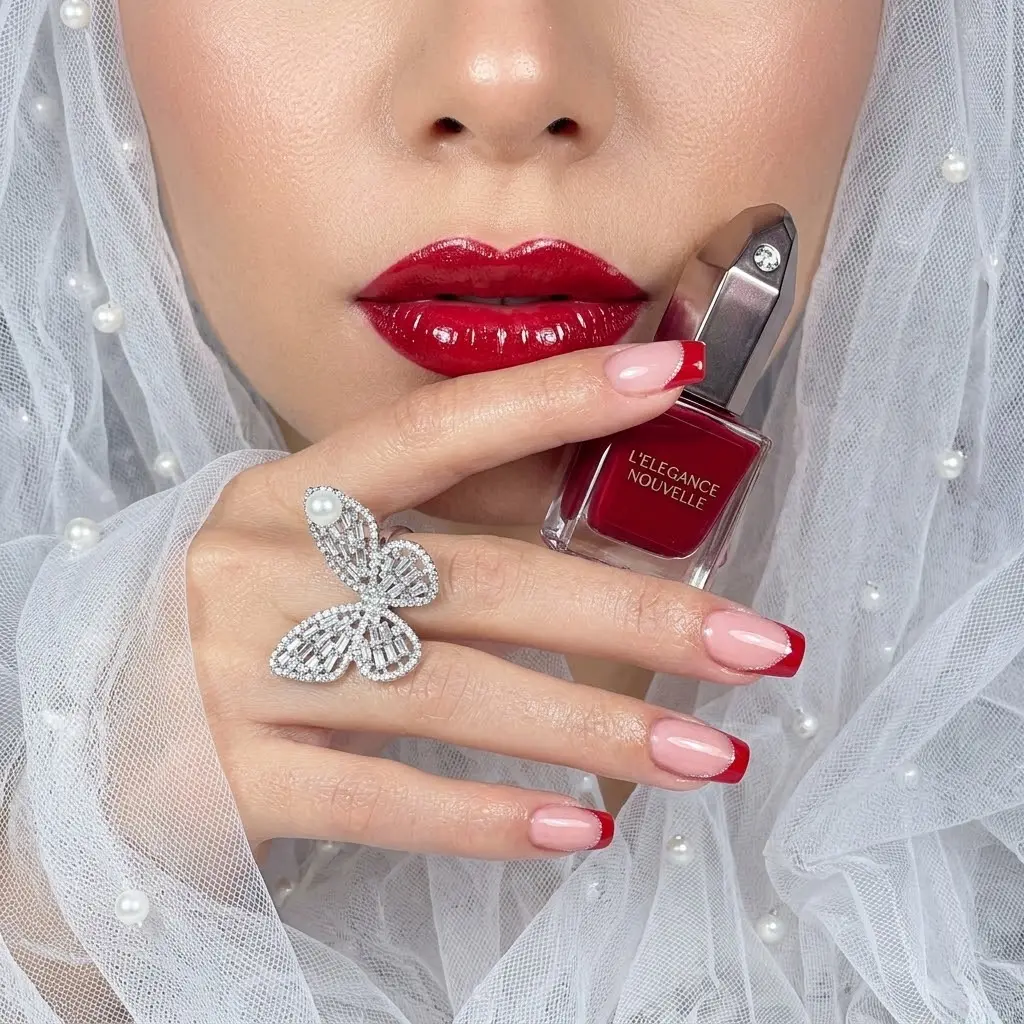
Red French tips are a classic holiday upgrade that most beginners can handle. Start with a sheer pink or nude base, and let it dry fully. Use a thin nail art brush, a French tip guide sticker or even a piece of tape to paint a slim line of red across each tip. If your lines aren’t perfect, tidy the edges with a small brush dipped in nail polish remover. Finish with a glossy top coat. The look is elegant, understated and goes with almost every outfit. It works well on short and medium nails.
Sponge Glitter Gradient Nails
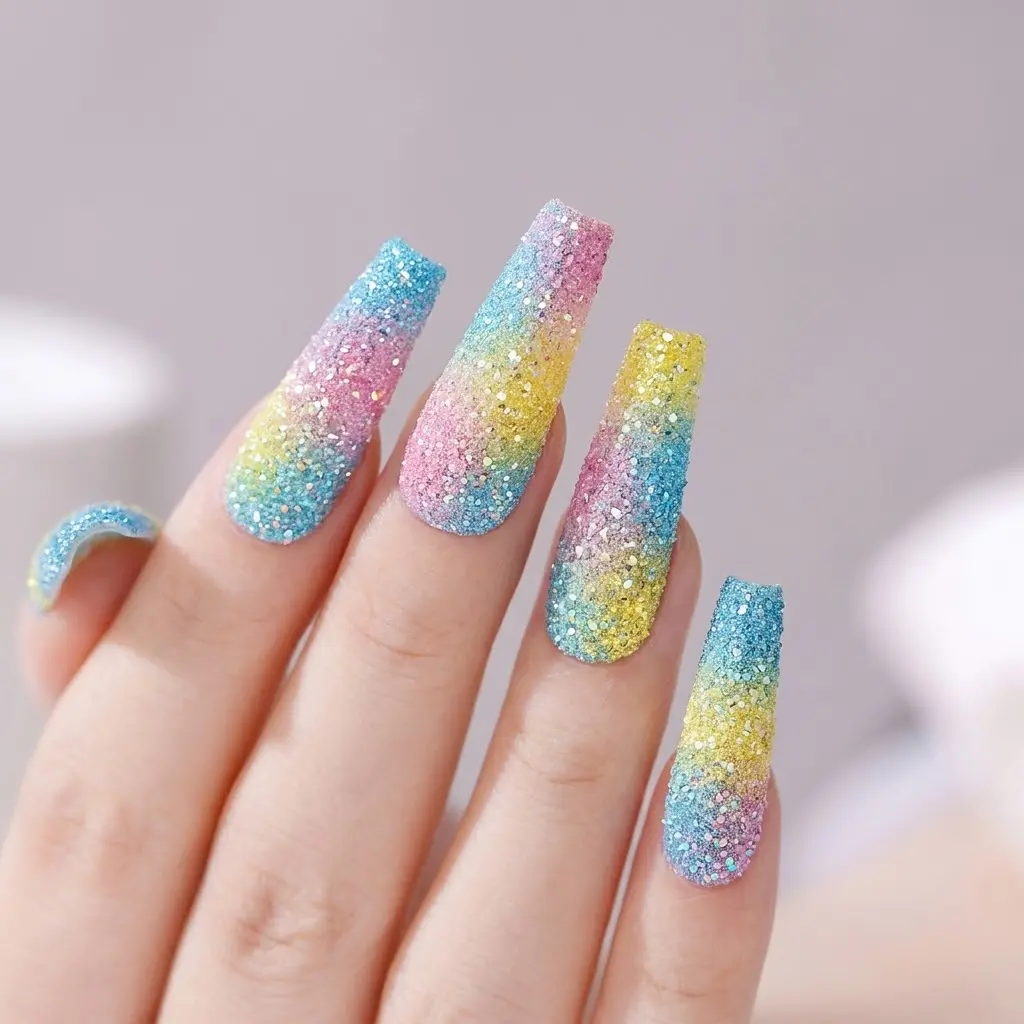
A sponge glitter gradient looks fancy, but it’s really a simple dabbing technique. Paint your nails with a solid base color, then dab a bit of glitter polish onto a small makeup sponge. Press the sponge lightly onto the tip of each nail, fading toward the middle with lighter pressure. Repeat once or twice to build the sparkle. Clean any polish off the skin with a small brush dipped in remover. Seal with a thick top coat for a smooth finish. It’s a festive choice for parties and New Year’s Eve.
Gold Foil Flake Nails
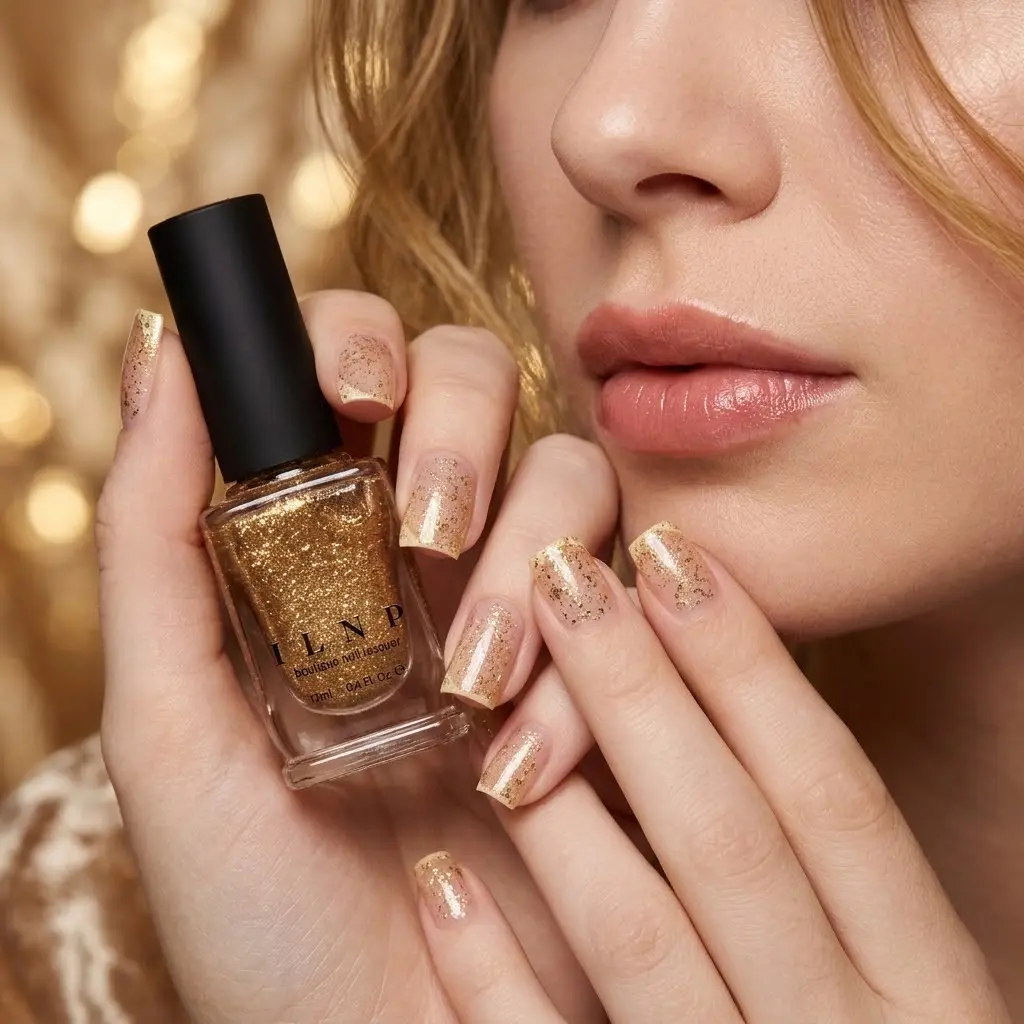
Gold foil flakes look luxurious, and they’re simple to apply. Paint your nails with a nude, red or green base and let it dry. Brush a thin layer of tacky top coat or foil glue onto the nail, then press a small flake of foil onto it with a tweezers or an orangewood stick. Once placed, seal everything with a regular top coat to smooth the edges. Use foil on one or two nails per hand so the look stays elegant. The gold catches the light like tiny ornaments on a tree. It takes about an hour.
Tiny Christmas Tree Dot Nails
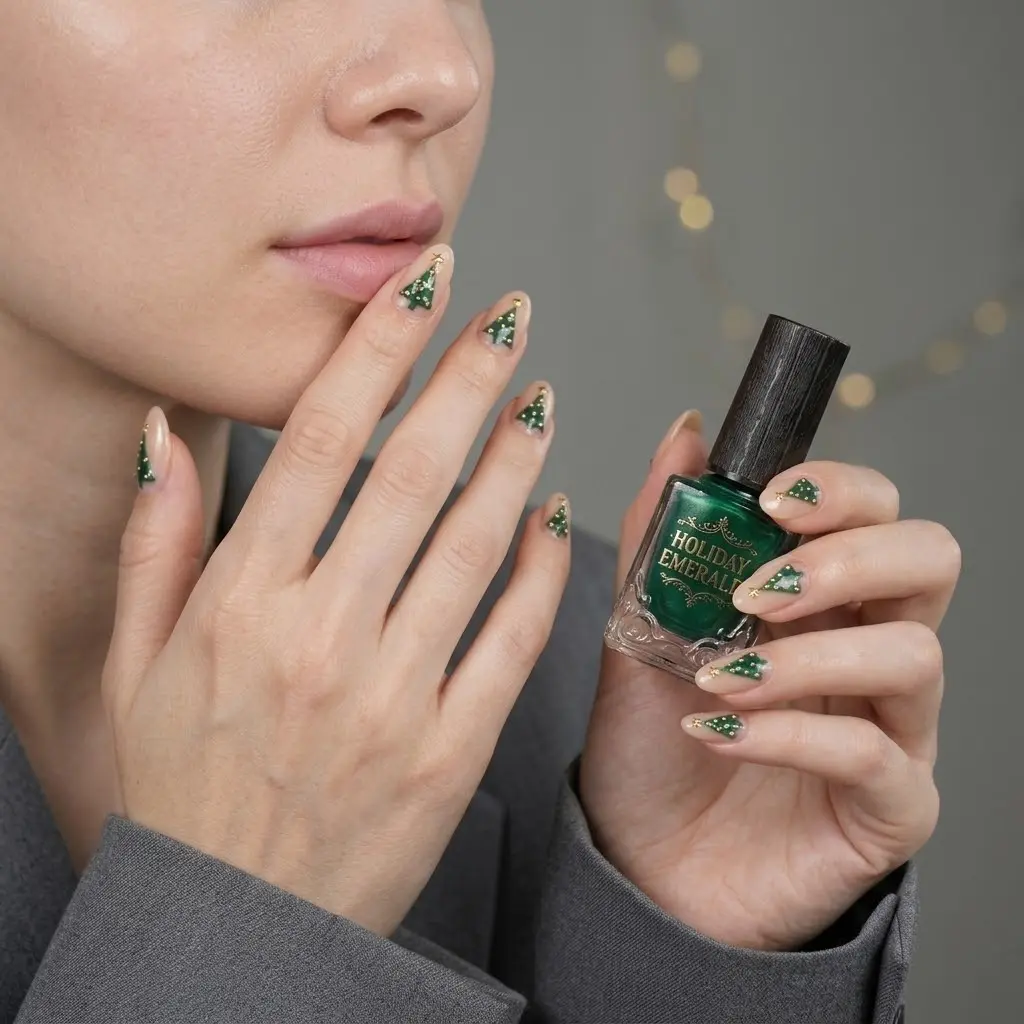
Christmas tree dot nails use simple dots to suggest a tree. Paint your nails a soft cream or deep navy, then use a dotting tool to place three dots in a row, with two dots below and one dot at the bottom to form a triangle. Use green for the dots, and add one small gold or red dot on top as an ornament. It takes a little patience, but the dots are easy to adjust before they dry. Seal with a top coat. Keep the design on one or two accent nails. It’s cute, festive and doable for beginners.
Matte Burgundy Nails

Matte burgundy nails look soft, rich and a bit luxurious, but they take almost no skill. Paint your nails with a deep burgundy or wine-colored polish, then add a matte top coat instead of a glossy one. The flat finish gives the color a velvety look that suits winter. Matte top coats dry quickly, so the manicure is ready in no time. Avoid oils and lotions right after applying, since they can leave marks. The color pairs nicely with black, camel and cream outfits. It’s an easy, elegant choice.
Press-On Christmas Nails
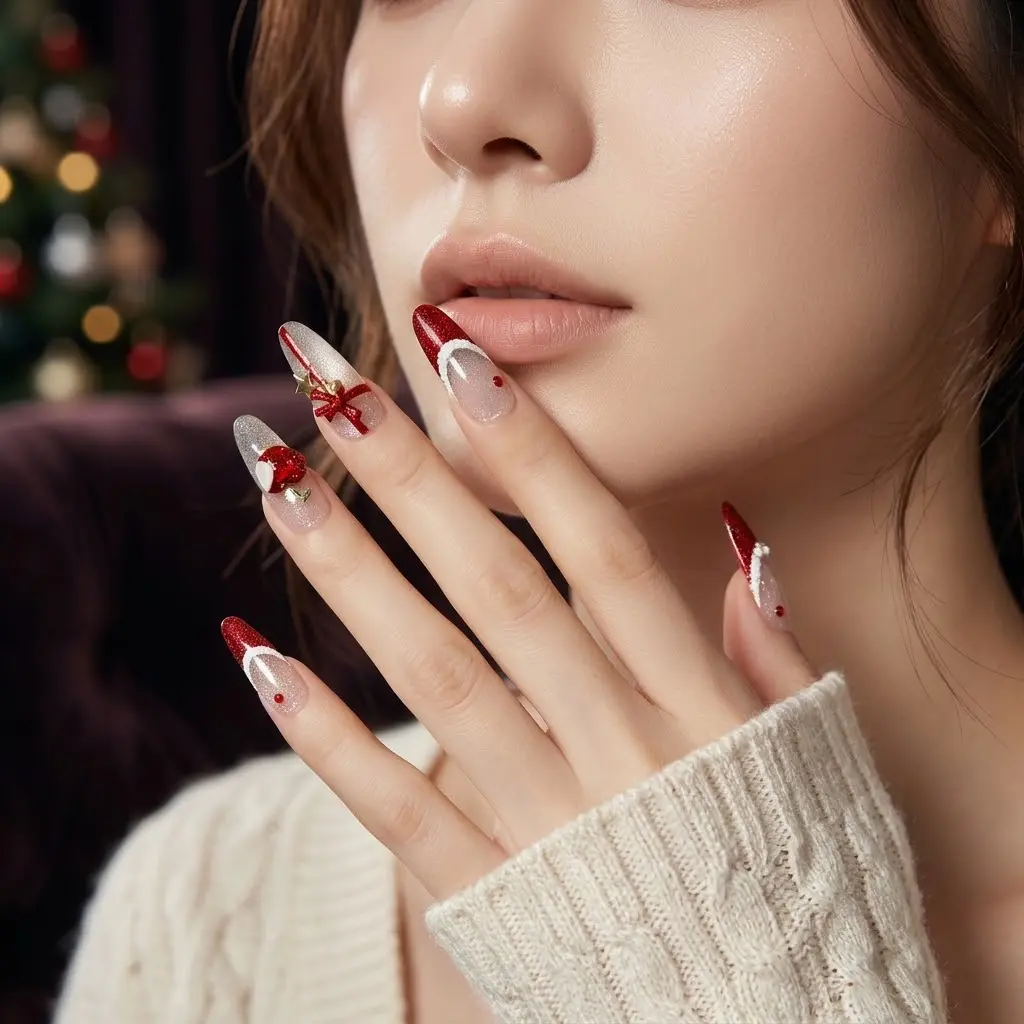
Press-on nails are the fastest option for anyone short on time or patience. Choose a set in a holiday shade, such as red, green or a soft glitter, and match each press-on to the right nail size. Clean and dry your natural nails, then apply the adhesive tabs or nail glue and press each nail firmly for about ten seconds. Buff the edges lightly if needed. There’s no drying time, so you can head out right away. Many sets are reusable if you remove them gently. It’s a great way to enjoy a polished look without the mess.
Snowy Tips on a Sheer Base
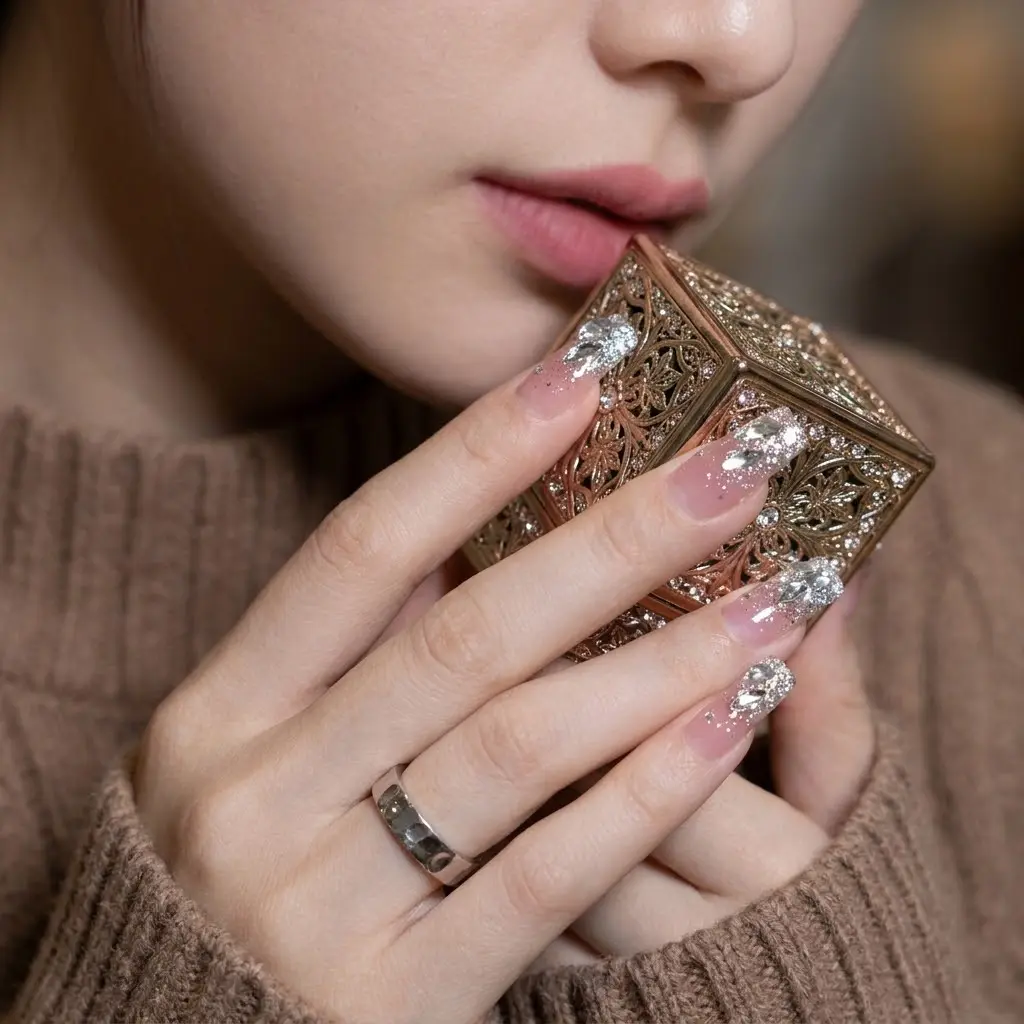
Snowy tips are a gentle winter twist on the French manicure. Paint your nails with a sheer pink or nude polish, then use a white polish to paint a thin line across each tip. For a softer snow effect, dab the white with a small sponge so the edge looks fluffy rather than sharp. Add a few tiny white dots above the tips to suggest falling snow. Seal with a clear top coat. It’s a quiet, pretty look that works with wool coats, scarves and cozy sweaters. It also stays clean as it grows out.
Star Sticker Nails
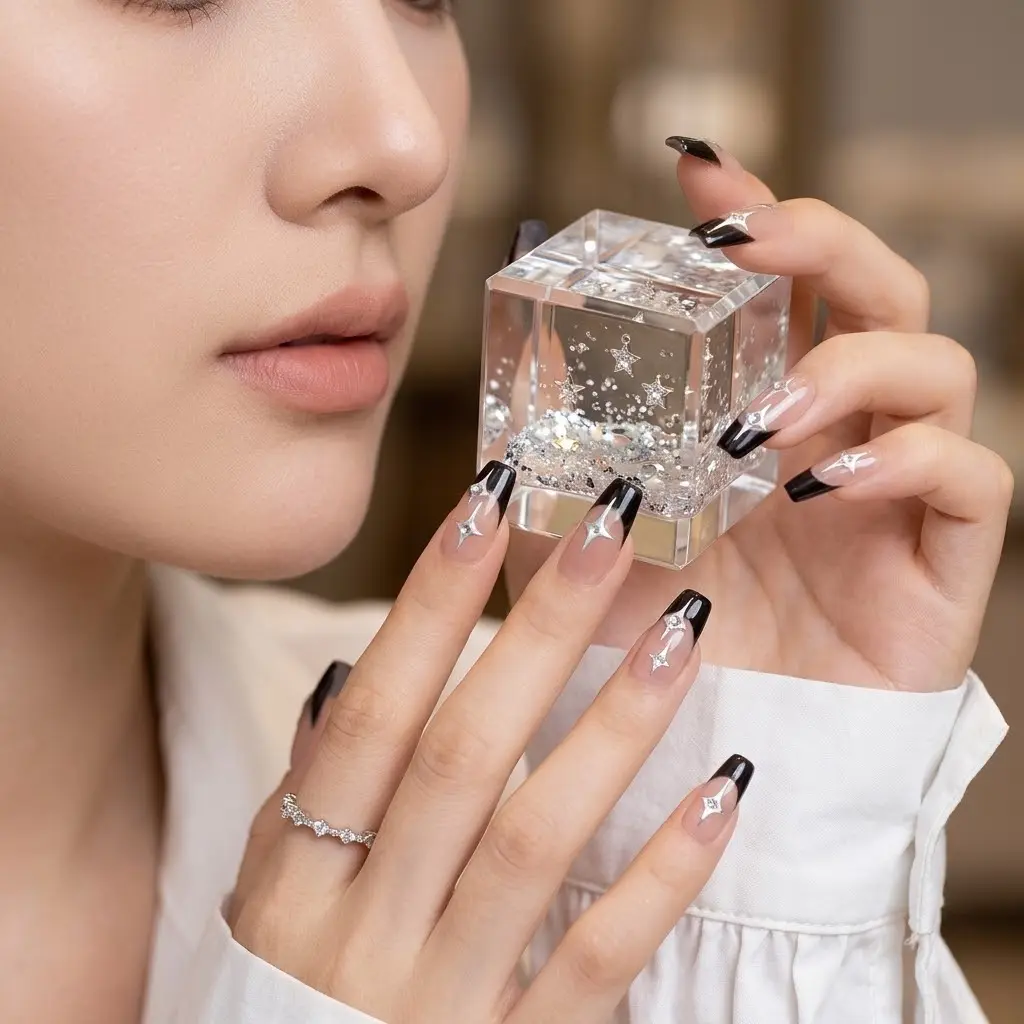
Nail stickers are one of the easiest ways to add detail without any painting skills. Paint your nails a deep navy, black or burgundy, and let the polish dry completely. Use tweezers to place small gold or silver star stickers on one or two accent nails, pressing gently so they sit flat. Seal the stickers with a top coat to keep them in place. The look is quiet and starry, like a winter night sky. It’s perfect for Christmas Eve and New Year’s Eve. It takes about thirty minutes.
Hot Cocoa Brown with Marshmallow Dots
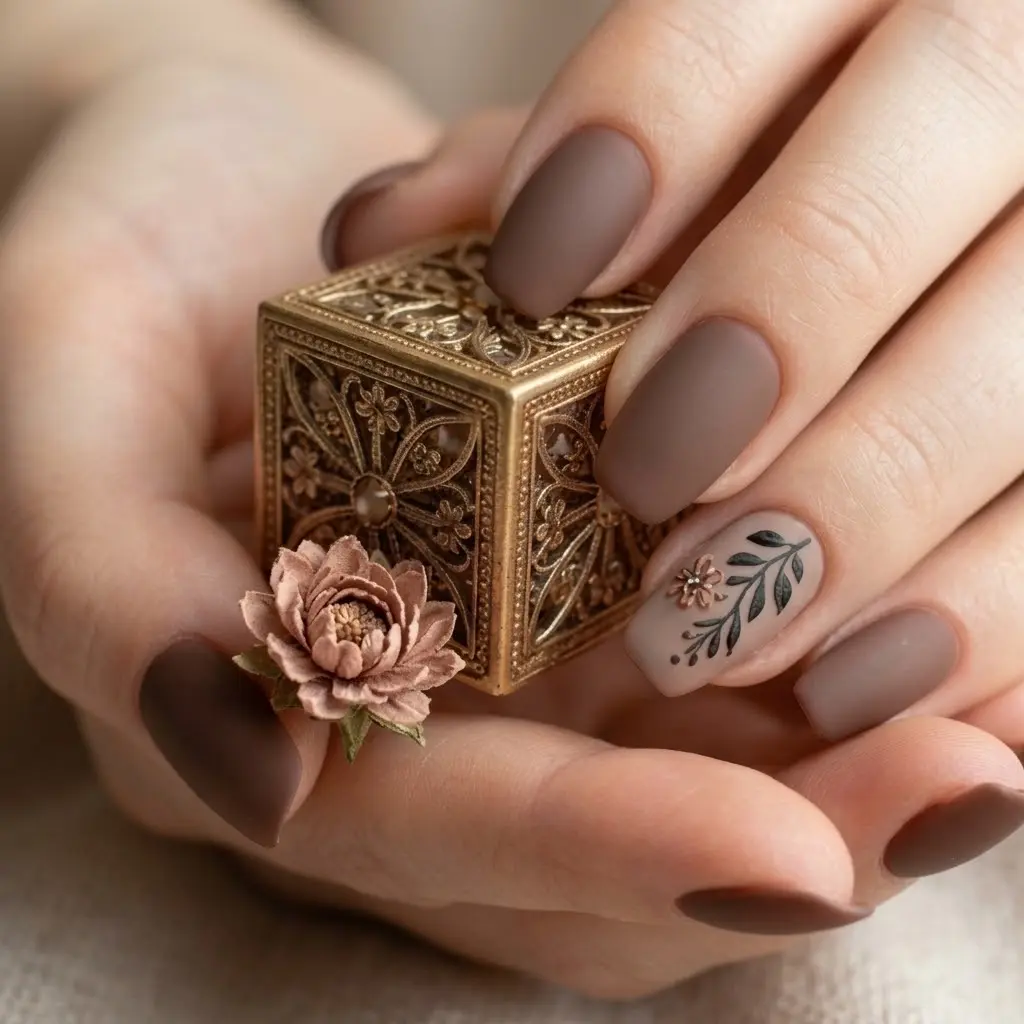
This cute design looks like a cup of hot cocoa with marshmallows. Paint your nails a rich chocolate brown and let them dry. Use a dotting tool to add small cream or white dots near the tips, like little marshmallows floating on top. Keep the dots varied in size for a playful effect. Seal everything with a glossy top coat. The look is cozy, sweet and perfect for pajama parties and movie nights. It’s also a great match for sweaters and flannel.